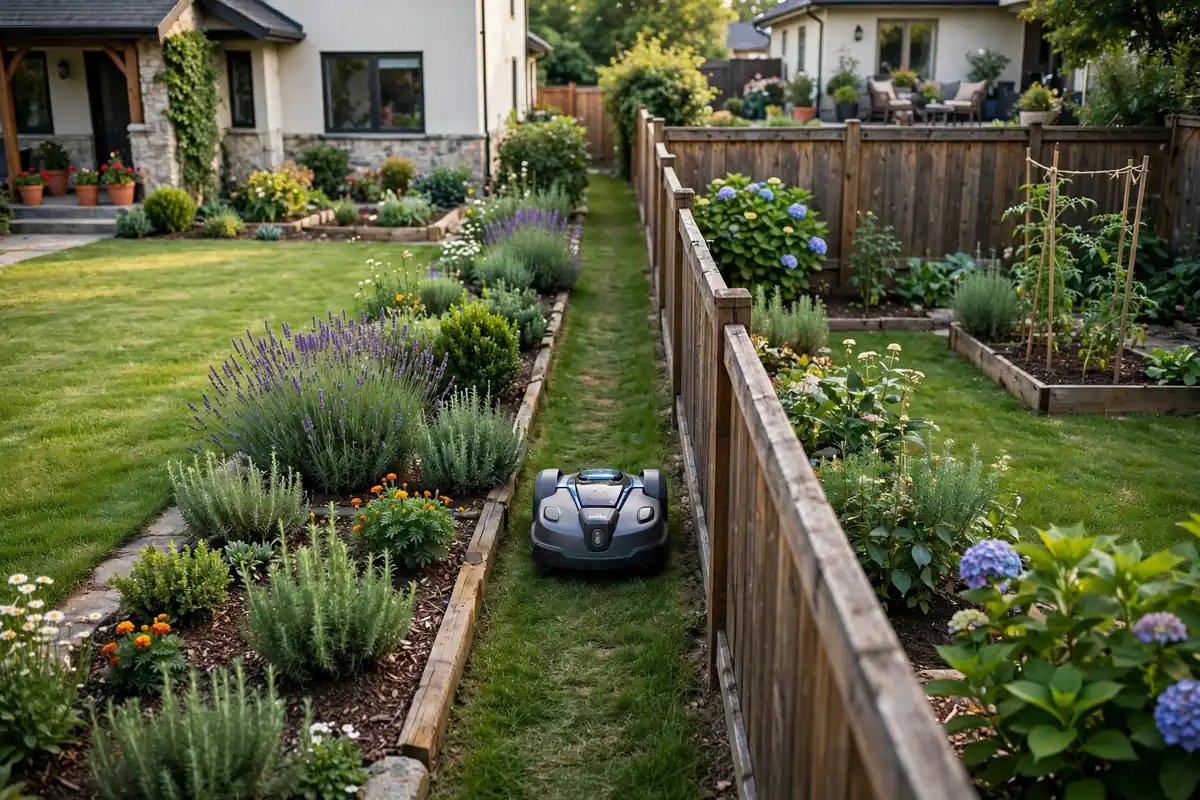
A robot mower multiple zones setup lets one mower look after a lawn that is not a single open rectangle. If your garden is split into front, back, and side lawns, or a driveway, path, or fence divides the grass, zones tell the mower where each area is and how to reach it.
In short: check whether your model supports more than one zone, plan each area and the route between them, define the zones, set a starting point for each zone, and test the journey before you rely on a schedule. Menus, limits, and terms differ by model, so use this guide for the principles and your manual for the exact steps.
What Are Robot Mower Zones?
A zone is a defined mowing area within your mower’s overall working area. It can be a physically separate lawn, such as a front garden cut off from the back by the house, or a division of one large lawn, such as a sunny section that grows fast and a shaded section that grows slowly.
Robotic mower separate zones help with separation, where two lawns have no direct grass connection; access, where a lawn is reached only by a path, gate, or driveway; and control, where you want different parts mowed on different days or at different heights. Not every mower handles zones the same way. Some support several named zones with individual schedules. Others support one main area plus a robot mower secondary area that the mower visits less often, or only when you carry it there. Check your manual for the maximum number of zones and whether the mower can travel between them on its own.
Before You Start: Check Capability, Capacity, and Access
A multi-zone plan only works if the mower can reach each area and has enough capacity for the total lawn. Add up all the zones, including narrow strips, and compare the total with the mower’s rated working area.
Walk every route the mower will need to use. Look for steps, steep drops, loose gravel, deep edging, and gates that are usually closed. A robot mower cannot climb a step to a raised lawn, cross a wide gravel bed without getting stuck, or open a gate. If an area has no mower-friendly route from the charging station, plan for manual transport: carry the mower there, place it inside the boundary, and start it.
Plan Your Zones on Paper First
Sketch your garden before you touch a wire or open a mapping screen. Mark the charging station, each lawn area, the house, paths, driveways, beds, trees, slopes, and gates. Note each area’s size, sun exposure, and mowing frequency. This prevents the most common mistake in robot mower zone management: creating zones that look neat in the app but do not match how the mower can actually travel.
Aim for zones that follow natural divisions: a front lawn, a back lawn, and a side strip. For each zone, decide how the mower gets there, where it starts mowing, and how often it needs to be mowed.
Robot Mower Multiple Zones Setup: Boundary-Wire Models
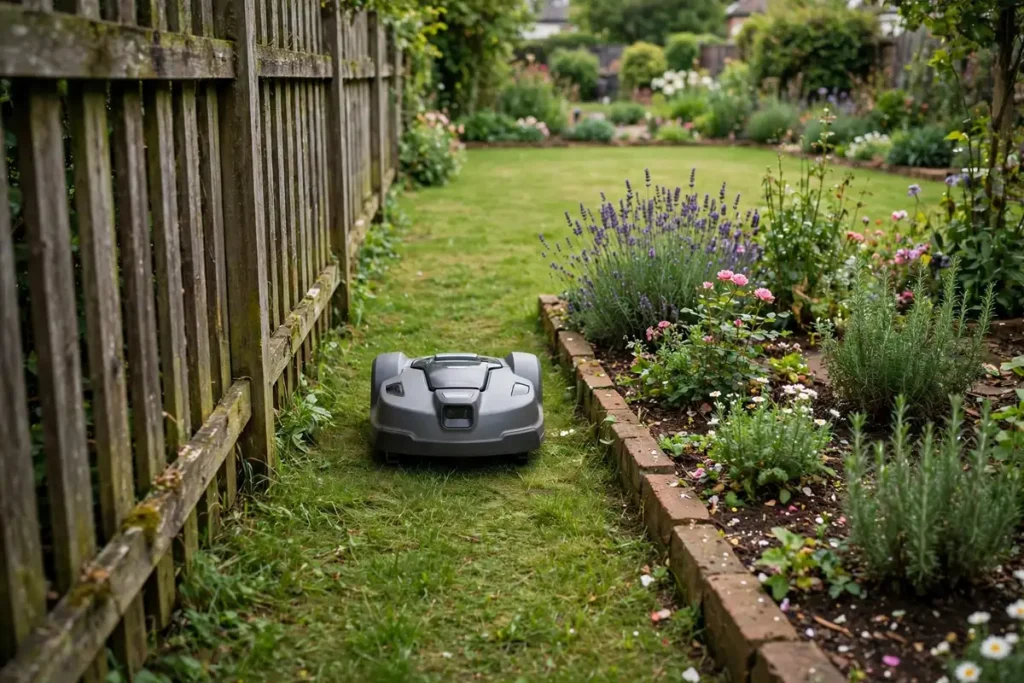
On a boundary-wire mower, zones are usually created with boundary wire and a guide wire. The boundary wire marks the outer edge of the working area. The guide wire runs from the charging station out into the lawn and helps the mower find its way home and reach distant areas. Many models let you define a starting point along the guide wire and assign a share of mowing time to it.
Lay the boundary wire around the whole working area first, including the passage that connects the zones. If the passage is too narrow, the mower may treat it as a boundary and turn back. Your manual should state the minimum and maximum passage width for your model; follow those figures, and test the route before you bury or peg the wire permanently. Then run the guide wire through the zones you want the mower to reach automatically, set a starting point in each zone, and give each point a share of mowing time that roughly matches the size of that zone.
Robot Mower Multi Zone Mapping: Wire-Free Models
Wire-free mowers create zones in the app, usually by walking the boundary with the mower or driving it around the edge with a remote control. Robot mower multi zone mapping on these models is often visual: you see each zone on a map, name it, and set its cutting height, schedule, and mowing pattern.
Map the main zone first and save it, then map each additional zone. Pay attention to how the app asks you to connect them. Some models need a mapped passage between zones, recorded by driving the mower along the route you want it to use. Others treat each zone as independent and expect you to carry the mower between them. Do not assume that mapping two areas on the same screen means the mower can travel between them on its own. Check whether the app shows a connecting route, and test it. Map in good conditions, walking slowly and steadily.
Set Starting Points So Each Zone Gets Covered
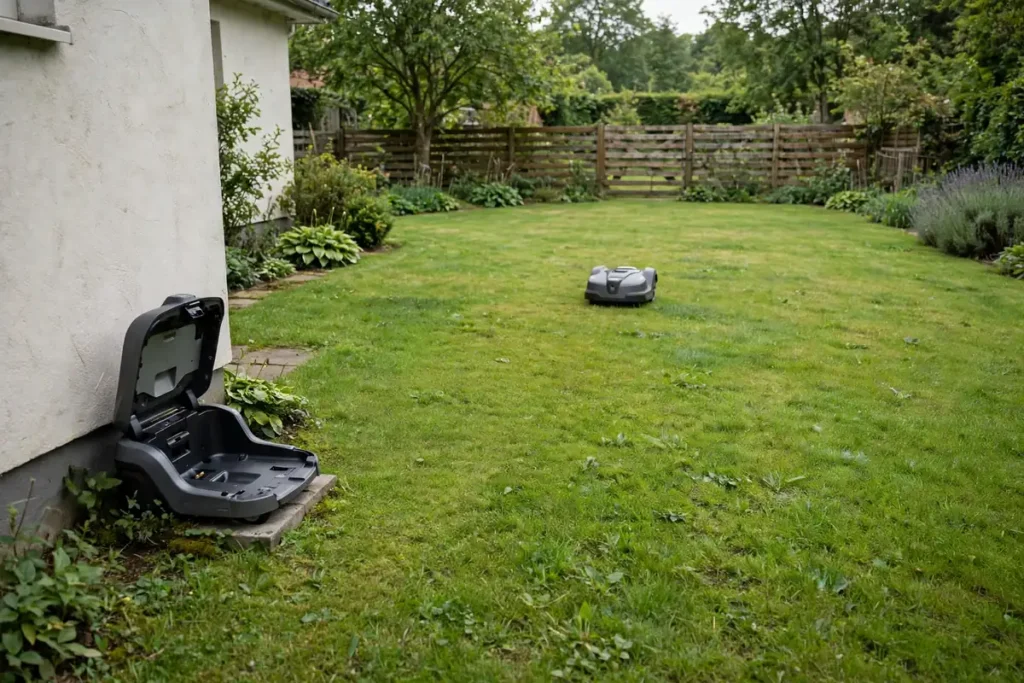
A starting point is where the mower begins mowing in a zone. Without one, it tends to start near the charging station and may never reach a distant area. With a starting point in each zone, the mower travels there first — along a guide wire or a mapped route — and then begins cutting.
Choose starting points inside the zone, not on its edge. A point near the middle, or near the far end of a long zone, usually gives more even coverage than a point right beside the passage. Avoid slopes, dips that collect water, and spots next to flower beds or where children or pets play. If your model lets you assign a percentage of time to each point, match it to the size and growth rate of the zone, then check after a week. If one zone is always longer, increase its share; if a zone looks thin, reduce it. For a manual secondary area, place the mower inside the boundary and bring it back to charge when finished.
Getting Through a Robot Mower Narrow Passage
The passage between zones is where most multi-zone setups succeed or fail. A robot mower narrow passage needs to be wide enough for the mower to drive through confidently and clear of obstacles, with a surface it can grip: short grass, a flat path, or firm ground. Long grass, loose stones, mud, and raised edging can all stop a mower there.
Check your manual for the minimum passage width, and measure the actual gap at ground level. Trim back overhanging plants, remove loose items, and level ruts or bumps before you test it. Never force a mower through a gap it was not designed for, and never remove a safety feature or boundary to make a passage work. Test the passage several times, sending the mower there and back. If it cannot be made reliable, treat the far area as a manual zone rather than risk the mower getting stranded.
Schedules and Zone Management
Once the zones and routes work, set a schedule that matches each area. A sunny front lawn may need more frequent mowing than a shaded back lawn. If your model allows different settings per zone, use them; if it allows only one setting for the whole garden, choose one that suits the most sensitive area.
Keep the schedule realistic. A mower asked to cover three zones in one short session may not finish any of them well, especially if travel between zones takes time, so give each zone its own day or time slot. Check progress after the first week for even growth, missed patches, and tracks where the mower has travelled the same route too often.
Troubleshooting Common Multi-Zone Problems
Most multi-zone problems have a simple cause: the mower cannot reach the zone, cannot find its starting point, or is not given enough time there.
| Problem | Likely cause | What to try |
|---|---|---|
| Mower never reaches the secondary area | No route, passage too narrow, or gate closed | Walk the route, measure the passage, and clear obstacles |
| Mower leaves the zone quickly | Starting point near the exit, or time share too low | Move the starting point deeper into the zone and increase its time share |
| Mower gets stuck in the passage | Soft ground, loose gravel, raised edging, or long grass | Level the surface, shorten the grass, and test the route again |
| One zone is always longer | Uneven time share or faster growth in sun | Increase that zone’s time share or schedule |
| Mower cannot find its way home | Guide wire or mapped route is broken | Check the guide wire and remap the return route |
If a problem persists, check battery charge, blade condition, wheel grip, and any error message. Do not bypass a safety feature, remove a boundary, or run the mower with a damaged blade to work around a zone problem.
Conclusion
Setting up multiple zones is mostly planning, not technology. Walk the garden, decide which areas are truly separate, work out how the mower will reach each one, and test the route before you trust a schedule. Define each zone clearly, give it a sensible starting point and a fair share of mowing time, and keep passages wide, firm, and clear. Check your model’s limits and follow its manual, because capabilities and setup differ by model.
Frequently Asked Questions
Can any robot mower handle multiple zones?
No. Some support several zones with individual schedules, some support one main area plus a secondary area, and some are designed for a single connected lawn only. Check your manual for the maximum number of zones and whether the mower can travel between them on its own.
How wide does a passage between zones need to be?
It depends on your model. Manufacturers state a minimum passage width, which varies by mower size and navigation system. Measure the narrowest point at ground level and test the route several times. If the passage cannot meet the minimum width reliably, treat the far area as a manual zone instead.
Do I need a guide wire for a secondary area?
On many boundary-wire models, yes. A guide wire helps the mower travel to a distant zone and find its way home. Wire-free models use a mapped route instead. Check your manual: some models can reach a secondary area without a guide wire, while others need one.
Can I set a different schedule for each zone?
That depends on the model. Some allow a separate schedule, cutting height, and mowing pattern for each zone. Others apply one schedule to the whole garden, or allow only a time share per starting point. If per-zone schedules matter, confirm this feature before you buy.
What should I do if my mower gets stuck between zones?
Stop the mower, move it to clear ground, and inspect the passage — soft ground, loose gravel, a raised edge, long grass, or an obstacle. Fix the surface or widen the route, shorten the grass, and test the journey again. Do not remove a boundary or bypass a safety feature to force it through.
Is it better to carry the mower to a separate lawn than to automate the route?
It depends on the layout. If the separate lawn is fully enclosed, has no mower-friendly route, or is reached only through an unreliable passage, carrying the mower there is often safer. Automation is better when the route is wide, firm, and tested, and the mower can return to charge on its own.