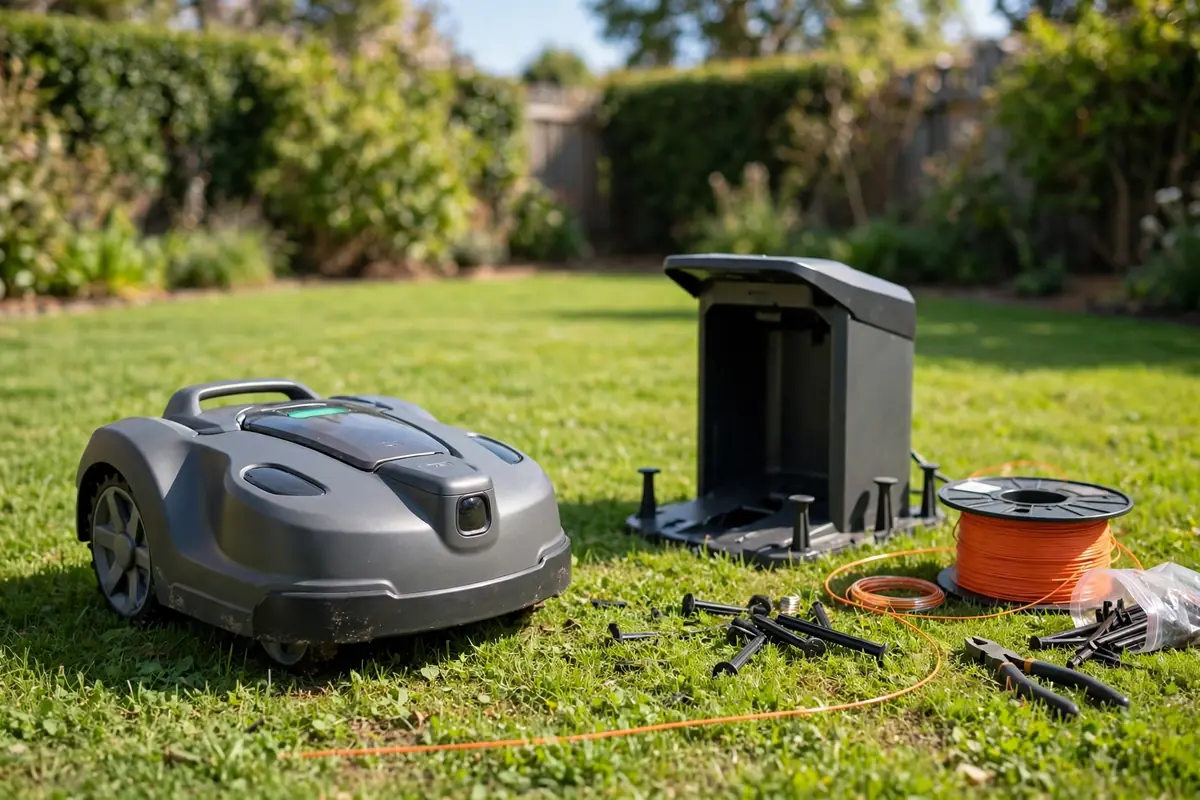
Learning how to install a robot lawn mower is mostly about preparation and following your model’s manual. In short: prepare the lawn, place the charging dock, set the boundary or create a map, charge the mower, run a test, and set a schedule. Some mowers use a boundary wire, while others use satellite positioning or cameras. This robot mower setup guide follows the order most owners use, but it does not replace your manual.
How to Install a Robot Lawn Mower in 7 Steps
These robot mower installation steps work for most models, whether you want to install automatic lawn mower equipment for the first time or replace an older machine:
- Read the manual and check the box.
- Prepare the lawn and remove hazards.
- Place the charging station.
- Connect the power safely.
- Install boundary wire, or map the lawn.
- Charge, connect the app, and test.
- Set cutting height and schedule.
Before You Start: Read the Manual and Check the Box
Read the installation section of your manual first. It tells you which boundary system your mower uses, where the dock should go, and how to charge it first.
Lay the parts out: mower, charging station, power supply and cable, boundary wire and pegs if supplied, connectors, and the manual. Keep the packaging until the mower has completed a successful test mow. If a part is missing or damaged, contact the seller. Charge your phone if you will use an app, and download only the app named in the manual.
Safety First: Blades, Electricity, Lifting, Pets, and Children
A robot mower has sharp blades and a battery, and it connects to mains electricity. Keep hands and feet away from the underside, and never reach under it while it is switched on. Before you clean, lift, move, or inspect it, switch it off and disconnect it according to the manual. Do not bypass a safety switch, lift sensor, or blade guard.
Lift with care: these mowers are heavier than they look, so bend your knees and ask for help if needed. Keep children and pets out of the work area, and tell children the mower is not a toy. For electricity, use only the supplied power supply, plug it into a suitable outdoor socket as directed, and keep connections dry. Do not use a damaged cable or an indoor extension lead outdoors. If unsure, ask a qualified electrician.
Step 1: Prepare the Lawn
Walk the mowing area first. It needs a clear, reasonably even surface and a clear route to the dock. Mow long grass first, and clear sticks, stones, toys, hoses, tools, and fallen fruit. Pick up pet waste, too. Fill or mark holes, ruts, exposed roots, and soft patches that could trap a wheel, and move furniture and pots out of the way.
Decide how to protect beds, a pond, a pool, or a play area — with wire, a mapped no-go zone, or a barrier. Do not rely on the mower to stop safely at an unfenced pond unless the manual says it is designed for that. Choose a dry day if you can.
Step 2: Choose and Place the Charging Station
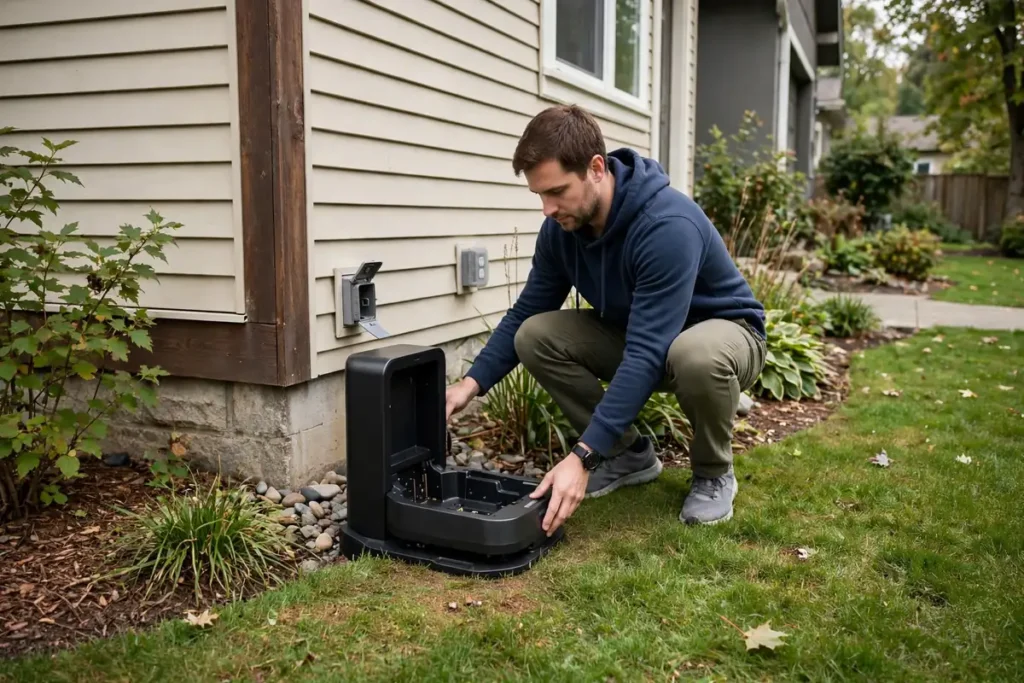
The charging station, or dock, is the mower’s home, and its position affects how reliably it finds its way home. Look for a flat, level spot at the edge of the lawn, with a clear approach from the front. It should be on firm ground, not soft soil.
You also need a power socket within reach of the supplied cable. Do not use a longer cable from another device. Keep the cable out of the mowing area and away from paths where people could trip. If the only socket is far away, ask a qualified electrician to fit a suitable outdoor socket. Place the dock level, fix it as directed, and face it as the manual shows.
Step 3: Connect the Power Safely
Connect the power in the order the manual gives. For many models, connect the low-voltage cable to the dock first, then plug the power supply into the socket, then check the indicator light.
If there is no light, or it shows a fault, switch off at the socket, check the connections, and consult the manual. Do not open the power supply or dock. If the cable, plug, or socket looks damaged or wet, do not use it — get advice from the manufacturer or a qualified electrician.
Step 4: Set the Boundary or Map the Lawn
This step differs most between models. With boundary wire, the wire tells the mower where it may mow. With a wire-free mower, you create a virtual boundary by walking or driving it around the lawn, using the app or mapping mode. Some mowers use a mix of both.
For Boundary-Wire Models
Lay the wire loosely on the surface first, following the lawn edge, around beds and obstacles, and back to the dock as the manual shows. Do not use spacing values from another model. Your manual gives the distances to leave from walls, fences, paths, and beds, and between the wire and the dock. Verify those model-specific distances in the manual and follow them exactly.
Keep corners gentle where the manual asks, and do not cross the wire over itself unless told to. Use the supplied connectors, as a poor join can cause signal loss. Then peg the wire down as the manual recommends, or bury it shallowly if allowed. Leave slack near the dock, connect both ends, and check the indicator. If it shows a break, check every connector for a cut or kink.
For Wire-Free Models
Make sure the mower is charged enough for mapping and the positioning system has a clear view of the sky or reference station. Then walk or drive the mower slowly around the lawn edge, and around beds, trees, and ponds you want to protect. Mark them as no-go areas in the app if supported.
Take your time at corners and narrow passages, as a hurried map can leave a gap or include the wrong area. Check the map in the app before you save it, correct any errors now, and note how to edit it later.
Step 5: Charge the Mower and Set Up the App
Place the mower on the dock as directed and let it charge fully for the first time. The manual will say how long this takes and what the lights mean.
While it charges, set up the app if your model has one. Create an account only through the official app, pair the mower as prompted, and update the firmware only if directed to. Do not start an update with a low battery or weak connection. Set a PIN if offered, check the safety settings, and learn how to stop the mower quickly before the test run.
Step 6: Run a Test and Check the Coverage
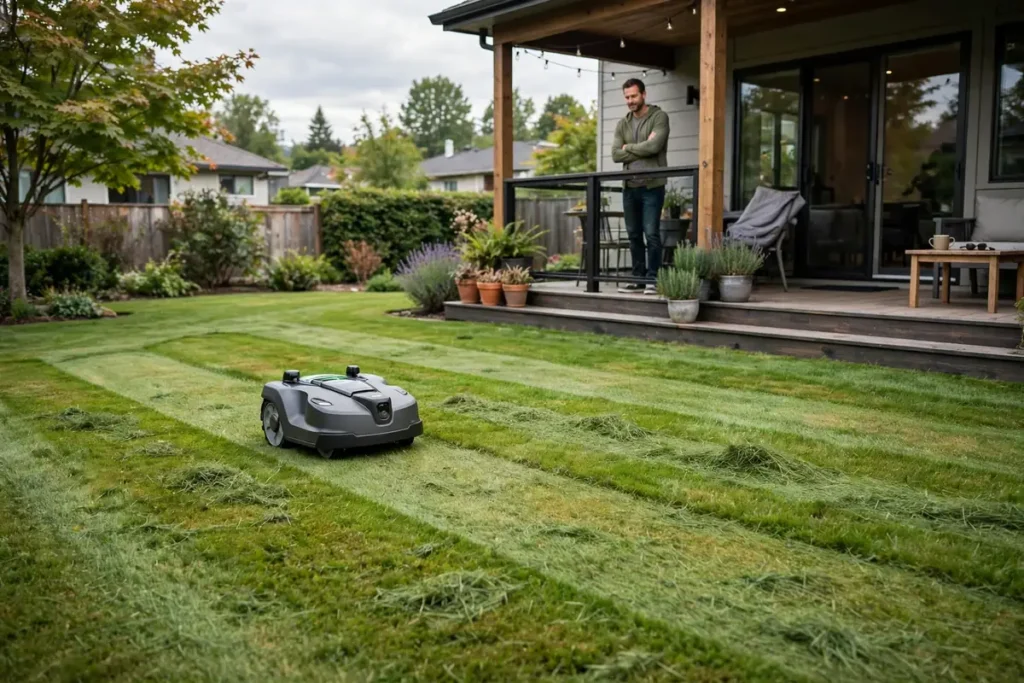
When the mower is charged and the boundary or map is ready, test it on a dry day. Keep children and pets indoors, stay nearby, and start it as the manual describes. Watch it leave the dock, follow the boundary, and return to charge. Does it stay inside the boundary and avoid no-go areas?
If it gets stuck, stop it safely — switch it off and disconnect it as the manual directs before lifting it — then fix the cause, such as moving the wire, editing the map, or filling a dip. Let it complete a full session if you can, then check for uncut strips or missed corners. A large missed area usually means the boundary, map, or cutting height needs adjustment.
Step 7: Set the Cutting Height and Schedule
Once the test looks good, set the cutting height and schedule. Start with the height recommended in the manual, or a higher setting if unsure. Cutting too low at first can scalp the lawn. You can lower it gradually later.
Start with a modest schedule, and run the mower during the day when you can check on it. Avoid night mowing, heavy rain, or times when children or pets are playing on the lawn, unless the manual says that is safe. Watch the lawn for a week and adjust for growth and weather. Add extra zones one at a time.
Robotic Mower Installation Mistakes to Avoid
Most problems come from a few avoidable mistakes. First, skipping the manual: every model has its own distances and mapping steps, so copying another brand’s setup rarely works. Second, placing the dock for your convenience rather than the mower’s — a dock behind a shed may look tidy, but the mower may struggle to find it. Third, rushing the boundary or map. Fourth, forgetting the lawn itself: long grass, debris, and holes will stop any mower. Finally, setting too ambitious a schedule on day one.
When to Get Professional Help
Most owners can install a robot mower themselves, but get help from the seller, manufacturer, or a qualified installer if your lawn is large or complex, you need a new outdoor socket, you are unsure about the electrical supply, or the mower repeatedly fails to dock or follow the boundary after you have checked the manual. Ask what the installation includes and what support you get afterwards. Do not modify the mower, dock, or power supply, or use parts from another model unless the manufacturer says they are compatible.
Conclusion
A successful robot mower first installation rewards careful preparation. Read the manual, prepare the lawn, choose a good dock position, connect the power safely, set the boundary or map with care, charge the mower, test it while you watch, and set a sensible schedule. Procedures vary by model, so verify the model-specific details in your manual. Keep children and pets clear, switch the mower off and disconnect it as the manual directs before any maintenance, and do not work on electrical parts in wet conditions.
Frequently Asked Questions
How long does it take to install a robot lawn mower?
It depends on the lawn and model. A simple, open lawn can often be set up in part of a day, including charging and a test run. A larger or more complex lawn, or a boundary-wire job, can take longer.
Do I need a professional to install a robot lawn mower?
Most owners can do it themselves for a straightforward lawn. Consider help if the lawn is large or complex, you need a new outdoor socket, or the mower repeatedly fails to dock or follow the boundary.
Can I install a robot lawn mower myself if I have never used one before?
Yes, in most cases. The job is designed for a homeowner, and the manual and app guide you through it. Follow the steps in order, and switch the mower off and disconnect it as the manual directs before lifting it.
What should I do if my robot mower will not find its charging station?
Switch it off safely and check the dock position, approach, and power light. Make sure the dock is level and stable, with nothing blocking the path. Check the wire connections or map, and any fault message.
Do all robot mowers need boundary wire?
No. Some use boundary wire, others are wire-free and use satellite positioning, cameras, or other mapping technology, and some use a mix. Your manual will say which system yours uses. Do not buy wire until you have checked.
How do I know if my boundary or map is correct?
Run a test while you watch. It should stay inside the boundary, avoid no-go areas, and return to the dock without help. If it enters the wrong area or gets stuck in the same place, stop it safely and adjust the boundary or map.