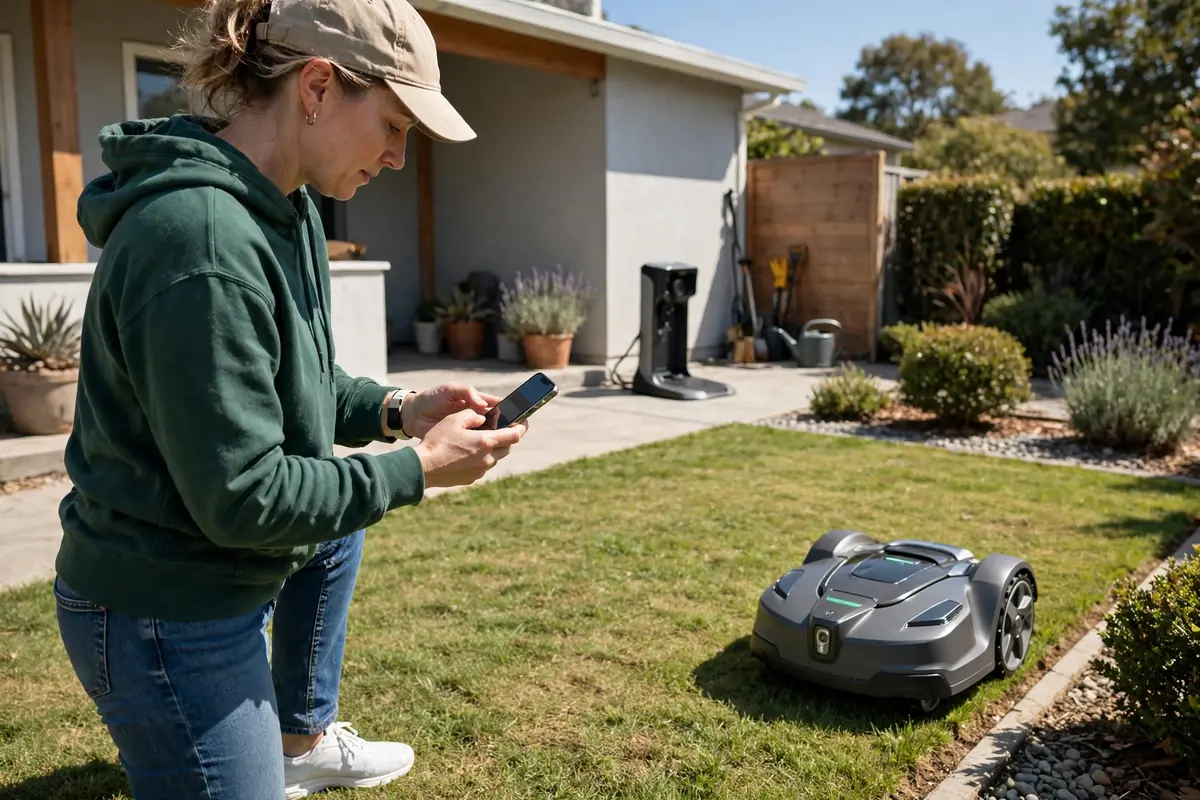
Learning how to map a lawn for a robot mower is the main setup step for a wire-free model. In short, prepare the lawn and charging dock, put the mower into mapping mode, guide it slowly around the edge of the area you want mown, add any zones and no-go areas, then check the map and run a test mow. There is no buried wire. The mower stores a virtual boundary and uses it to work out where to mow, where to avoid, and how to return to its dock. Mapping workflows differ by brand and navigation system, so always follow the manual for your exact model.
What Wire Free Robot Mower Mapping Does
Wire free robot mower mapping creates a digital plan of your garden that the mower can follow again and again. During mapping, it records the outer boundary. Many models also record the charging dock, the route back to it, and any separate zones or areas to avoid. Once saved, the mower plans its cutting pattern inside that boundary, rather than wandering until it meets a wire.
Robotic mower lawn mapping does not all work in the same way. Some models use satellite positioning, sometimes with a fixed reference station. Others use cameras, sensors, or a combination of systems to recognise edges and landmarks. Some are driven by remote control in the app, while others are walked around with a handle. A satellite-based mower may need a clear view of the sky, while a camera-based mower may need good daylight.
Before You Map: Prepare the Lawn and Dock
Do not start mapping on a lawn that is overgrown, cluttered, or wet if you can avoid it. Walk the area first and look at it as the mower will experience it. Mow long grass first if it hides edges, holes, or low obstacles. Clear sticks, stones, toys, hoses, tools, fallen fruit, and garden furniture. Pick up pet waste. Fill or mark holes, ruts, exposed roots, and soft patches that could trap a wheel.
Check the charging dock before you map. It should be level, firmly fixed if your manual requires it, and in the position where it will stay. Mapping from a temporary dock position is a common mistake: if you move the dock later, the mower may need a new map or a new return route. Make sure the dock has power, a clear approach from the front, and enough space around it. Keep the power cable out of the mowing area.
How to Map a Lawn for a Wire-Free Robot Mower Step by Step
The exact steps vary, but most wire-free models follow a similar sequence. Work slowly and steadily. Mapping is not a race, and a careful first map saves time later.
- Place the mower at the dock. Start mapping from the dock if your manual asks for it.
- Start mapping mode in the app. Follow the manual to enter mapping mode. Check the battery and signal before you move.
- Guide the mower around the outer edge. Drive or walk it slowly around the perimeter. Stay close to the edge you want the mower to use, and keep a steady pace.
- Close the loop, then add zones and no-go areas. Most models need you to return to the starting point. Then add separate mowing zones and areas to avoid, using the method in your manual.
- Check the map, save it, and run a test. Look at the full map in the app. Check that the shape matches your lawn and that no-go areas are in the right places. Save it, then run a short test mow.
If mapping fails or the mower stops, do not keep repeating the same attempt. Stop it safely, check the battery and signal, read any message in the app, and check the manual. A common cause is a weak signal in one part of the garden, a boundary that was not closed, or an area that is too small or too narrow for that model.
Virtual Boundary Mapping: Getting the Edge Right
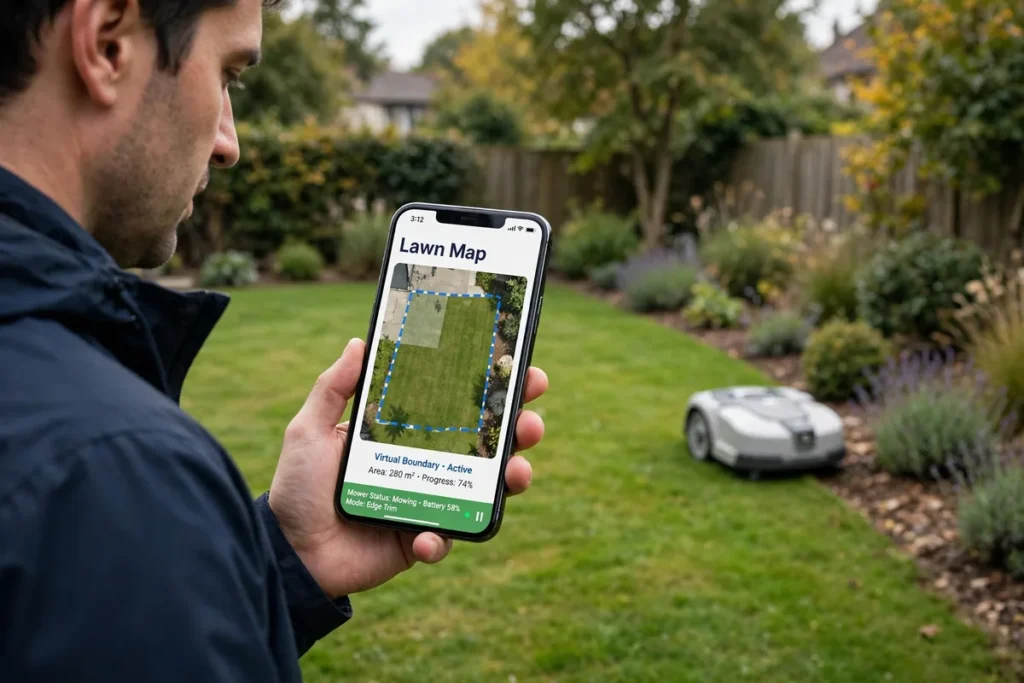
Virtual boundary mapping is where most errors happen. A physical wire gives a clear, continuous edge. A virtual boundary depends on the route you took, the positioning system, and the map stored in the app. Small errors during mapping can become repeated errors during mowing. Walk the edge at a steady speed and keep the mower upright and level. If you turn too sharply, it may record a rounded corner where you need a square one. If you drift away from the edge, it may later cut into a bed or leave a strip uncut.
Robot Mower Mowing Zones and No-Go Areas
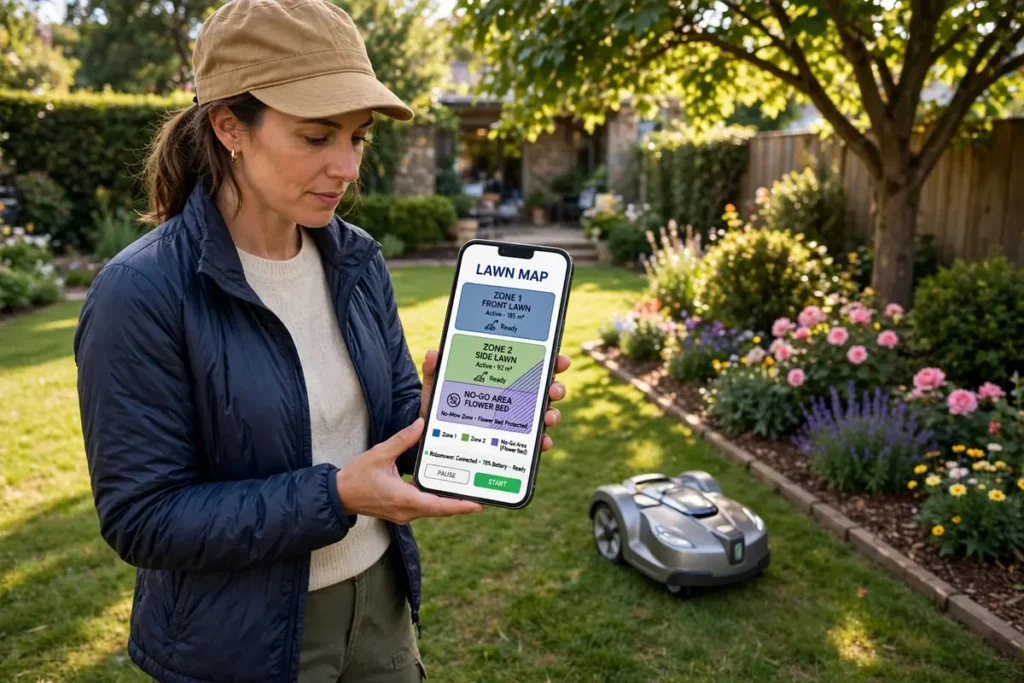
Once the outer boundary is set, most owners need to divide the lawn into useful parts. Robot mower mowing zones let you treat different areas differently, for example by mowing the front lawn less often than the back. No-go areas protect places the mower should never enter. A zone is a named area inside the outer boundary. Some models let you draw zones in the app. Others ask you to drive the mower around each zone in turn. Some support only one zone, while others support several. Check your manual for the limit on your model.
No-go areas, sometimes called exclusion zones, are areas inside the boundary that the mower should avoid. Common examples include flower beds, vegetable gardens, a pond, a play area with loose sand or bark, a newly seeded patch, and a tree with exposed roots. Add them during mapping if you can, rather than after the mower has already entered them once. Follow the method in your manual: drive around the area, draw it on the map, or place a marker in the app. For a pond, pool, or steep drop, add a physical barrier as well if the manual calls for one.
Mapping Narrow Passages and Separate Areas
Narrow passages are one of the hardest parts of robotic mower lawn mapping. A passage may look wide enough to a person, but the mower needs room to enter, turn, and leave without getting stuck or damaging the edges. It also needs a reliable signal and a clear route through. Measure the passage before you map it, at its narrowest point, including overhanging plants, edging, or furniture. Your manual should give a minimum passage width for your model. Do not use a figure from another model, because the minimum depends on the mower’s size, turning circle, and navigation system. If the passage is below the minimum, do not force it. After mapping, test the passage several times and watch whether the mower enters cleanly and returns without getting stuck.
Checking, Testing, and Updating Your Map
A saved map is not finished until you have tested it. Run a test mow on a dry day when you can watch the mower. Stay nearby, keep children and pets out of the area, and be ready to stop it using the method in the manual if it heads somewhere it should not. Watch the edges first. Does it stop at the boundary you intended? Watch the no-go areas next. Does it avoid them cleanly? Watch the route back to the dock.
If the test reveals a problem, note exactly where it happened and what the mower did, then check the map at that spot. A boundary too close to a bed, a no-go area that is too small, or a passage that is too narrow on the map are common causes. Edit the map if your app allows it, or remap the affected section. Do not keep running the mower over the same error in the hope that it will correct itself. Keep a simple record of the date you created the map, the zones and no-go areas you added, and any edits you made.
Maps need updating when the garden changes. Remap or edit the map after you move the dock, change the shape of a lawn, add or remove a bed, path, or patio, plant or remove a large tree, or add a permanent feature such as a shed, pond, or play area. You may also need to update it after a major software update, if the app asks you to, or if the mower starts behaving differently at the edges. If the mower starts missing areas or entering no-go areas after working well, check the map before you assume a fault.
Safety Notes for Mapping
Mapping involves a mower with sharp blades and a battery, so treat it with the same care as mowing. Keep hands and feet away from the underside, and never reach under it while it is switched on. Before you lift, carry, or inspect it, switch it off and disconnect it according to the manual. Do not bypass a safety switch, lift sensor, or blade guard. Keep children and pets out of the mapping area, and tell children the mower is not a toy. Do not map in wet or stormy weather, and do not use a damaged cable, plug, or power supply.
Conclusion
How to map a lawn for a robot mower comes down to preparation, a slow and steady boundary walk, and a careful check before you trust the map. Prepare the lawn and dock, choose a dry day with a good signal, decide what should be mown and what should be protected, then guide the mower around the edge and add zones and no-go areas. Test the map, fix any errors, and update it when the garden changes.
Frequently Asked Questions
How long does it take to map a lawn for a wire-free robot mower?
It depends on the size and complexity of the lawn, the mapping method, and how many zones and no-go areas you add. A small, simple lawn may take only a short session, while a larger garden with separate areas and narrow passages will take longer. Allow extra time for preparation, checking the map, and a test mow.
Do I need to remap my lawn if I move the charging dock?
In many cases, yes, or at least you will need to update the return route. The dock is often the starting point for the map, so moving it can change how the mower finds its way home. Check your manual. Some models let you update the dock position without remapping the whole lawn, while others need a new map.
Can I edit a robot mower map after I have saved it?
Many models allow you to edit a saved map, for example by moving a boundary, resizing a no-go area, or adding a zone. Others only allow limited edits, or require you to remap the affected area. Check your manual and app for the editing options on your model.
What should I do if my robot mower loses signal during mapping?
Stop mapping safely and check the signal status in the app. Move to a part of the garden with a clearer view of the sky if your model uses satellite positioning, and check for trees, buildings, or other obstructions. Make sure the mower and any reference station are charged and positioned as the manual requires. Do not keep mapping through a signal loss.
Why is my robot mower mowing into a flower bed after mapping?
The most likely causes are a boundary mapped too close to the bed, a no-go area that is too small or misplaced, or a mapping error such as a wobble or gap in the boundary. Check the map in the app and compare it with the real garden. Edit or remap the boundary and no-go area, and add a physical barrier while you test the fix.