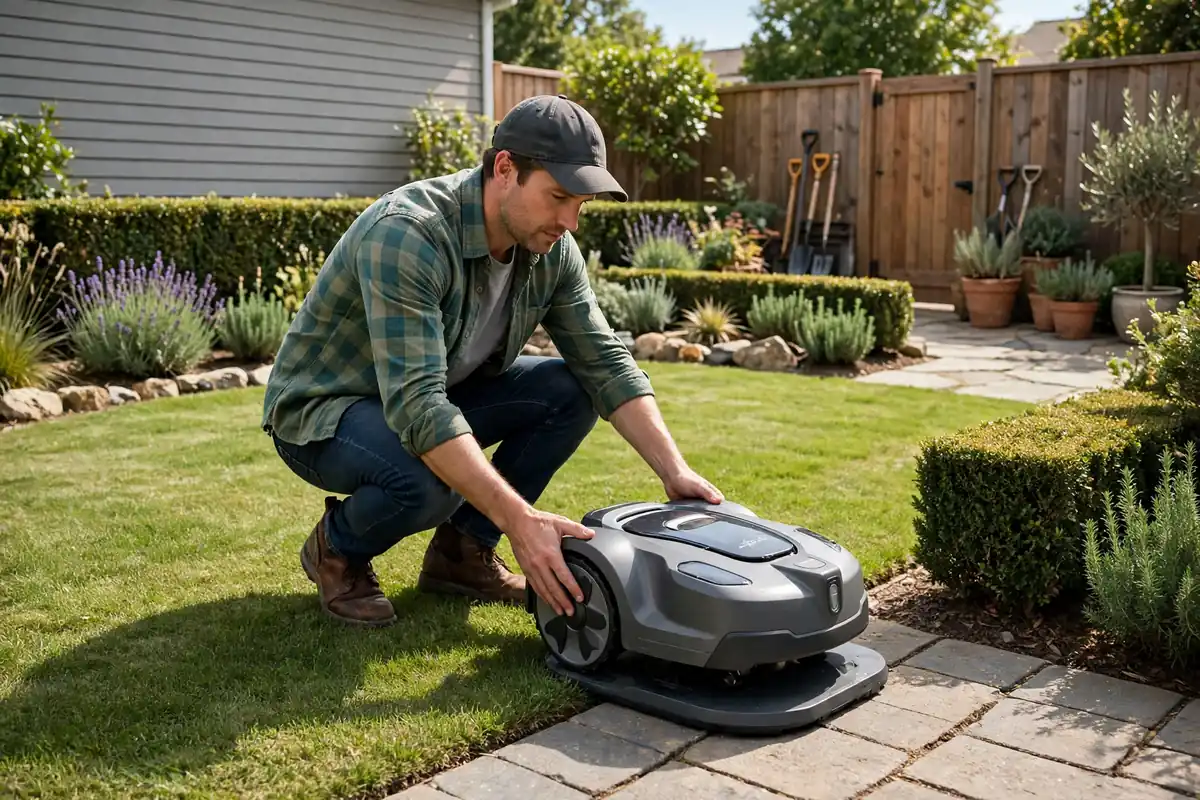
Robot mower first time setup follows a simple order: unbox and check everything, place the charging dock, charge the mower, connect the app, set the boundary or map the lawn, check the safety settings, and run a supervised test mow before setting a regular schedule. Most of the work is preparation.
Procedures vary by brand and model, and by whether your mower uses a boundary wire, satellite positioning, cameras, or a combination. Your manual is the final authority for your exact model.
Robot Mower First Time Setup at a Glance
- Read the manual and check the box contents.
- Prepare the lawn and remove hazards.
- Place the charging station on flat, level ground.
- Connect the power supply safely and charge the mower.
- Install the boundary wire, or map the lawn.
- Pair the app and set a PIN and cutting height.
- Run a supervised test mow.
- Set a modest first schedule, then monitor the first week.
Before You Start: Read the Manual and Check the Box
Read the setup and safety sections of your manual first, not just the quick-start card. It tells you which boundary system your mower uses, how it should be charged the first time, and which app to install. Lay out everything and check it against the parts list: the mower, charging station, power supply and cable, and, for wired models, boundary wire, pegs, and connectors.
If a part is missing or damaged, contact the seller or manufacturer before you start.
Safety First: Blades, Electricity, Children, and Pets
A robot mower has sharp blades, a rechargeable battery, and a mains-powered charging station. Keep hands and feet away from its underside, and never reach underneath it while it is switched on. Before you lift, move, clean, or inspect it, switch it off as the manual directs. Do not bypass a safety switch, lift sensor, or blade guard.
Lift with care — these mowers are heavier than they look. Keep children and pets out of the work area, and explain to children that the mower is not a toy. Use only the supplied power supply in a suitable outdoor socket, and keep connections dry. Do not use a damaged cable or an indoor extension lead outdoors.
Step 1: Prepare the Lawn for Robotic Mower First Use
Walk the whole mowing area first. Pick up sticks, stones, toys, tools, hoses, fallen fruit, and pet waste. Fill or mark holes, ruts, and exposed roots that could trap a wheel, and move garden furniture and pots out of the way.
Mow long grass with a conventional mower first if it is tall or thick. Decide how to protect hazards before you set the boundary: a pond, pool, or steep drop needs a physical barrier, a boundary wire, or a mapped no-go zone.
Step 2: Place the Charging Station
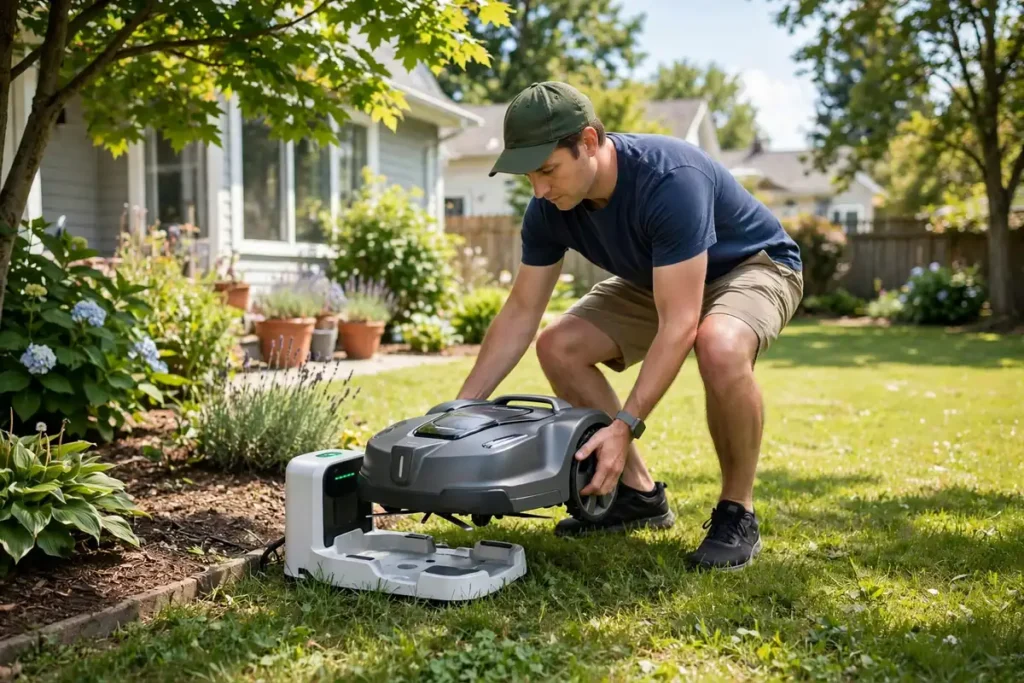
The charging station, or dock, is the mower’s home base, and its position affects how reliably the mower finds its way back. Choose a flat, level spot at the edge of the lawn, on firm ground, with a clear approach from the front. Follow the clearance distances in your manual rather than guessing.
The dock needs a power socket within reach of the supplied cable. Do not substitute a longer cable, and do not run the cable across the mowing area or a path where people could trip. Fix the dock in place as directed and check that it sits level — a rocking dock can cause docking failures.
Step 3: Charge the Mower Before Its First Run
Place the mower on the dock and let it charge. Many manuals recommend a full first charge, and some models need a set charging period before they can be paired or mapped. Do not cut this short: a mower that starts with a low battery may return to the dock halfway through its first run.
If the mower does not appear to charge, check that it is seated correctly, that the contacts are clean and dry, and that the dock has power.
Step 4: Robot Mower App Setup and Pairing
Robot mower app setup is where many first-time owners get stuck, so follow the manual’s order. Install the app named in the manual and create an account if required. Some models pair by Bluetooth when you are next to the mower; others use Wi-Fi from the start.
- Switch the mower on and make sure it is charged.
- Open the app, add a new mower, and choose your exact model if asked.
- Stand close to the mower for Bluetooth pairing, with Bluetooth on if the manual calls for it.
- Follow the prompts to connect to your home Wi-Fi, if your model supports it.
- Set a PIN or security code if offered, and store it somewhere safe.
If a screen does not match what you expected, stop and check the manual for your exact model. Once pairing succeeds, check that the app shows the mower’s status and battery level.
Step 5: Set the Boundary or Map the Lawn
This step defines where your mower may and may not go. For a boundary-wire model, lay a wire around the edge of the mowing area and around any islands, such as beds or trees, that the mower should avoid. Plan the route on foot first, then lay the wire at the distances the manual specifies. Secure it with the supplied pegs, or bury it if the manual allows that. Connect it to the dock and check the indicator to confirm the loop is complete.
For a wire-free model, create a virtual boundary by mapping the lawn, usually by walking the mower around the edge with the app or letting it map the area itself. Clear the lawn and close gates first, follow the app’s prompts to mark the boundary and any no-go zones, then check the finished map before you mow.
Step 6: Check the Safety Settings Before the First Mow
Before the mower leaves the dock, check the settings that keep people, pets, and the mower safe. The exact names vary by model, but most let you check:
- PIN or security code: set one if offered, and test that it works.
- Lift and tilt sensors: do not test these by tipping the mower while the blades are running.
- Rain sensor or rain delay: check whether your model pauses in rain, and whether that feature is on.
- Obstacle handling: check whether your model slows down or stops for obstacles. No sensor is perfect.
- Cutting height: set it to the height recommended in the manual. A middle setting is a sensible start.
- Schedule: leave the automatic schedule off, or set it to a time when you can supervise, until the first test is done.
Step 7: Run a Supervised Test Mow
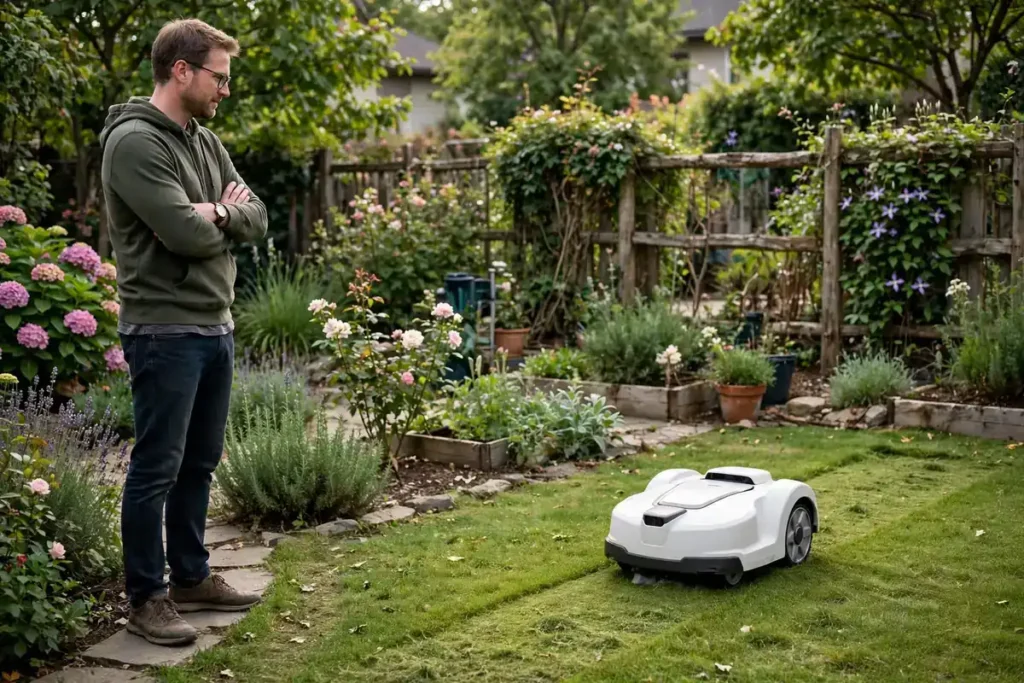
A test run is your chance to see whether the boundary or map is right and whether the mower docks reliably, while you are there to stop it if needed. Start the mower manually as the manual directs, and stay in the garden to watch it. Do not leave it unsupervised on its first outing, and keep children and pets out of the mowing area.
Watch whether it stays inside the boundary, turns smoothly at corners, handles slopes and narrow passages without getting stuck, and returns to the dock when the battery runs low. If it stops or behaves oddly, switch it off as the manual directs and check the cause before restarting. Check the app for an error message and record the exact wording; that is what support will ask for. Do not reach under the mower while it is on.
Step 8: Robot Mower Schedule Setup for the First Week
Once the test run has gone well, you can configure robot lawn mower scheduling. Robot mower schedule setup is best done conservatively at first: start with a modest schedule you can watch. Schedule mowing when you are at home, the lawn is dry, and children and pets are not using the garden.
Choose a start time that gives the mower enough daylight to finish or return to the dock. During the first week, check the mower after each run and note anything to adjust. Do not expect a perfect lawn after the first few runs — a robot mower maintains grass with frequent, light cuts, so the lawn usually looks better after a week or two.
Monitoring the First Week and Common Problems
The first week is a trial period. Watch for patterns: does the mower always stop in the same place, miss the same corner, or struggle after rain? A problem in the same place every time usually points to something in the garden — a dip, a root, or a boundary that is too tight — rather than a random fault.
Most first-use problems have a simple cause. If the mower will not pair, check the correct app, Bluetooth, and distance. If it will not charge, check the socket and reseat the mower. If it crosses the boundary, check the wire connections and dock indicator, or review the map. If a problem persists, contact the manufacturer or seller with your model number and the exact error message.
A Note on Different Models and Systems
No two robot mowers are identical, and this guide deliberately avoids model-specific menu instructions. Use this article for the order of events, then use the manual for the exact buttons, screens, and distances for your mower.
Conclusion
A careful robot mower first time setup takes an afternoon, but it sets up months of easier lawn care. Read the manual, check the box, prepare the lawn, place the dock, charge the mower, pair the app, set the boundary or map, check the safety settings, and run a supervised test before you set a regular schedule.
Frequently Asked Questions
How long does robot mower first time setup take?
Allow a relaxed afternoon, including charging, boundary or map setup, app pairing, and a supervised test run. The time varies with lawn size and how much preparation the lawn needs.
Do I need to charge a robot mower before its first use?
In most cases, yes. Many manuals recommend a full first charge, or a set charging period, before the first run. Follow the charging instructions in your manual, and do not start the first mow with a low battery.
Can I set up a robot mower without the app?
It depends on the model. Some mowers can be started and adjusted from controls on the mower itself, while others need the app for pairing, mapping, scheduling, and updates. Check your manual to see which functions need the app.
What should I do if my robot mower will not pair with the app?
Check that you have the correct app for your exact model, that Bluetooth is on if the manual calls for it, and that you are standing close to the mower. If pairing still fails, restart the mower and phone as the manual directs, then contact manufacturer support.
How do I know if my boundary or map is correct?
Run a supervised test mow. The mower should stay inside the boundary, turn smoothly at edges, and return to the dock. Afterwards, walk the lawn and check for missed areas and places where it crossed a line or got stuck. Correct any errors before setting a regular schedule.
When should I set a regular mowing schedule?
Only after a successful supervised test run. Start with a modest schedule when you are at home and the lawn is dry, monitor the first week, and adjust timing, frequency, and cutting height as needed.