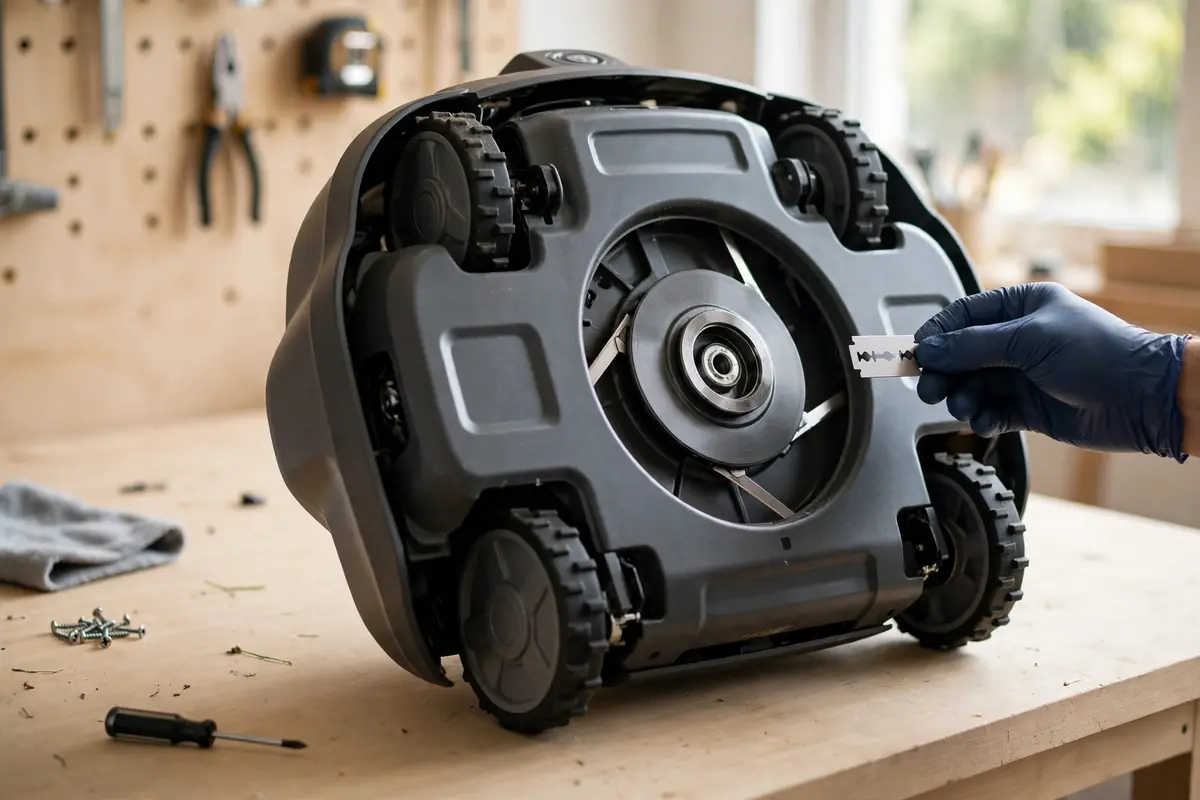
How often to replace robot mower blades depends on how much you mow, what your mower cuts through, and what your manual recommends. There is no single interval for every mower, lawn, and climate. Inspect your robotic mower cutting blades every few weeks in the growing season, and replace them when the edge is dull, nicked, bent, or missing. Sharp blades slice cleanly; dull ones tear grass tips and leave a ragged, pale lawn.
Why Robot Mower Blades Wear Out
Most robot mowers use small razor-style blades on a rotating disc. The blades pivot slightly as the disc spins, helping them move aside after a small impact. Other models use a fixed or larger blade, so check your manual before ordering: similar-looking blades are not always interchangeable. Wear is normal. Each pass removes a tiny amount of metal, and the edge gradually rounds over. Nicks appear after contact with stones, twigs, soil, sand, pine cones, hidden edging, or sprinkler heads. A smooth lawn is kinder to blades than a rough one with bare patches, exposed roots, gravel edges, or sandy soil.
Signs of Dull or Damaged Blades
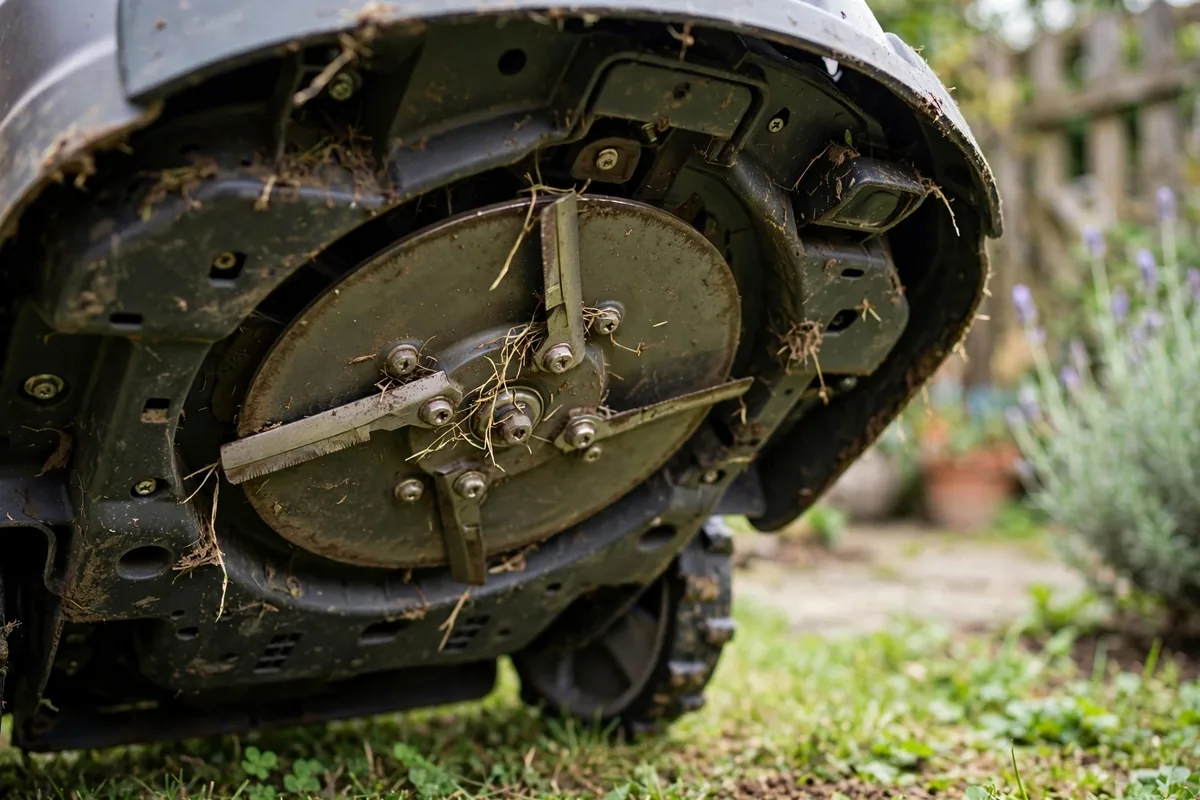
Cut quality is usually the first clue. Dull robot mower blades tear rather than slice. Look at grass tips a day after mowing: cleanly cut tips look straight and green, while torn tips look frayed, split, or whitish.
Also watch for:
- Ragged, streaky, or uneven cutting, although the cutting height has not changed
- Grass bent over rather than cut, especially near the edges
- Uncut tufts or patches the mower used to cut cleanly
- A blade edge that feels rounded or rough with a gloved finger
- A blade that is chipped, cracked, bent, rusted, or missing
- A blade that does not pivot freely, or a disc that does not turn smoothly by hand
- New vibration, a different sound, or struggling in grass it handled easily before
Do not rely on sound or vibration alone; debris around the disc can cause similar changes. Many manuals say to replace all blades on the disc at the same time, so cutting stays balanced. Also check the disc and screws, and do not keep mowing with a cracked disc or a partly attached blade.
How Often to Inspect Robot Mower Blades
Regular robot mower blade inspection is more useful than a fixed replacement date. Check blades weekly during fast growth, every two to four weeks in normal use, immediately after hitting a stone, root, edging, toy, or cable, and at the start and end of the season.
Always follow the shutdown steps in your manual first. Switch the mower off, remove the safety key or battery if your manual requires it, and wait until the blades have completely stopped. Wear cut-resistant gloves and eye protection, and do not reach under the mower while it is on, paused, or scheduled to start. If your manual allows the mower to be turned over, support it securely on a clean, flat surface.
How Often to Replace Robot Mower Blades
There is no universal answer, but the table below is a realistic starting point for planning inspections and keeping spares. It is a guide, not a manufacturer specification; your manual is the authority.
| Use and conditions | Typical inspection | Typical replacement |
|---|---|---|
| Small, smooth lawn | Every 2 to 4 weeks | Often after a full season, or when dull |
| Medium lawn | Weekly in the growing season | Often during the season, when cutting quality drops |
| Large lawn, daily use | Weekly | More often; watch cutting quality closely |
| Sandy, stony, or rough ground | Weekly, and after impacts | Sooner; replace damaged blades at once |
| Wet grass or heavy growth | Weekly | More often; clean and inspect first |
Some manuals suggest a replacement period, often in weeks or months of use. Treat it as a maximum interval, not a target to stretch. Replace sooner if cutting quality falls or a blade is damaged.
Dull Blades and Cutting Quality
Torn grass tips lose moisture more quickly and can look brown at the ends, making the lawn look tired even when it is healthy underneath. Before replacing blades, check other causes: clean the underside and disc with the mower off and gloves on, check that each blade pivots freely, and check the cutting height and whether the mower is completing its schedule. If tips are torn across the whole lawn, dull blades are a likely cause; if only one strip is missed, the cause may be coverage, a boundary, or an obstacle.
Choosing Compatible Replacement Blades
Compatibility is where owners most often go wrong. Blades differ in length, width, thickness, hole size, shape, and mounting. Some are double-edged and can be turned over; others are single-edged. Some discs use three small blades, others a different number or a single larger blade. Start with your mower’s exact model name and, where relevant, its serial number, found on a label on the mower, in the app, or in the manual. Use it to find the correct part in the manual, on the manufacturer’s official parts page, or through an authorised dealer. If a listing does not name your exact model, do not assume it will fit. Many kits include new screws, and many manuals say to replace the screws with the blades. Do not sharpen razor-style blades: they are thin consumables, and sharpening can change their shape or weaken the edge.
How to Replace Robot Mower Blades Safely
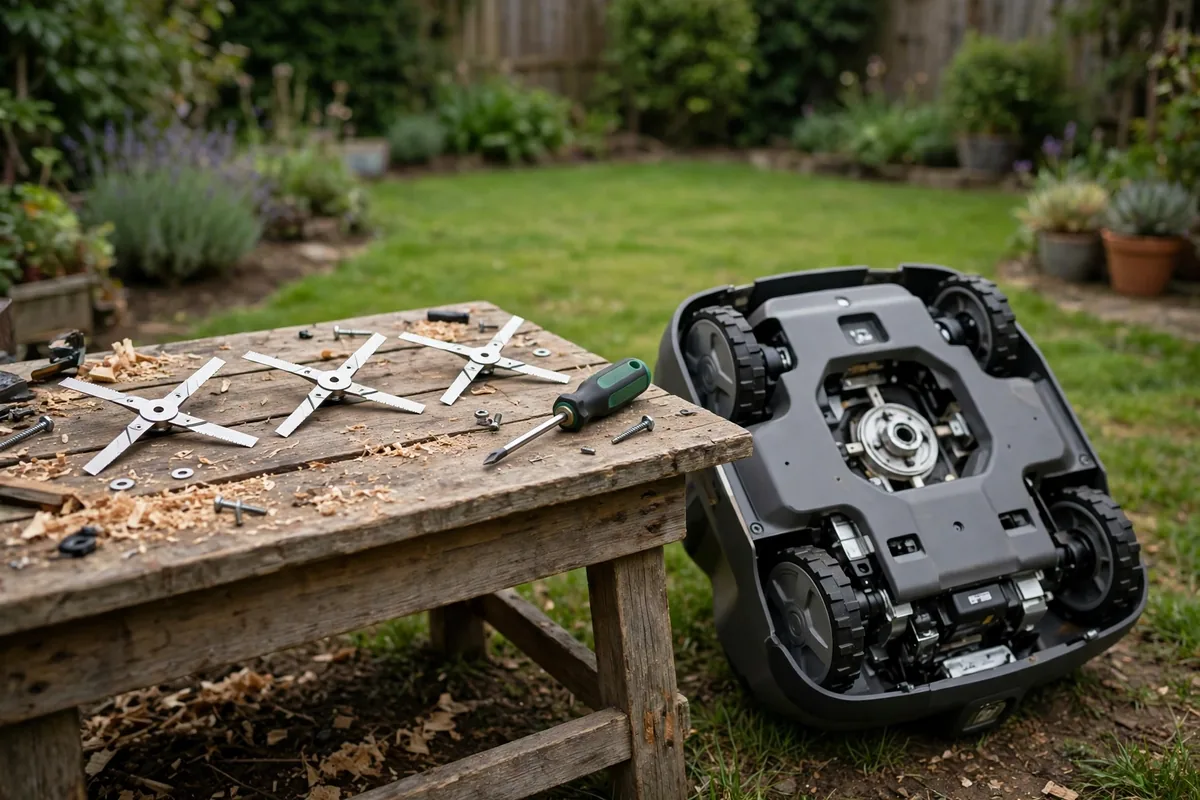
Read the blade replacement section in your manual before you start; the steps below cover the safety principles for most mowers but do not replace your manual. Gather the correct blades and screws, cut-resistant gloves, eye protection, and the tool your manual specifies. Work in good light on a clean, flat surface, and keep children and pets away.
1. Switch the mower off. Stop any schedule in the app, bring the mower to a clear area, and switch it off using the main switch, safety key, or shutdown method in your manual. Remove the safety key or battery if required, and wait until the blades have completely stopped.
2. Position the mower safely. Only turn it over if your manual allows it; some models must stay upright to protect a camera or sensor. If yours can be turned over, support it securely so it cannot slip or fall.
3. Clean the blade disc. With gloves on, brush loose grass and debris from the underside and disc, and remove string, wire, or grass wrapped around it. Do not use a pressure washer or hose unless your manual explicitly permits it.
4. Remove the old blades. Hold the disc steady with a gloved hand, keeping fingers away from sharp edges. Remove one blade screw at a time, working methodically around the disc. Place old blades straight into a puncture-resistant container.
5. Fit the new blades. Fit each blade in the same orientation as the old one, unless your manual shows otherwise. Use a new screw for each blade if your manual or kit says so, and tighten to the tightness described in the manual. Then check that each blade pivots freely and the disc turns smoothly by hand.
6. Test the mower. Return it to its wheels, refit the safety key or battery if removed, and switch it on. Check for an error message, then run a short test mow in a small, clear area if your manual allows it. If it vibrates, grinds, or shows an error, switch it off at once and consult the manual or a dealer.
Safe Handling, Disposal, and Ongoing Care
Old blades stay sharp. Never put loose blades in a bin bag, household waste bin, or recycling bin where they could cut a hand. Place them in a rigid, sealed container, label it clearly as sharp blades, and keep it out of reach of children. Disposal rules vary by area, so check your local council or waste authority guidance, or take the sealed container to a recycling centre and ask staff.
Replacement blade maintenance also means keeping the disc clean, checking screws, and storing spares correctly. After each change, note the date, part number, and number of blades fitted, plus mowing hours if your mower records them. Between changes, clean the disc with a brush and a plastic scraper, with the mower off and gloves on. Replace a screw that is loose, rusted, or damaged, using the correct part.
Mistakes to Avoid and When to Get Help
Avoid the common errors: waiting for a fixed date instead of inspecting; mowing with a bent, cracked, or missing blade; replacing only one blade when the manual says to replace the set; fitting blades not listed for your exact model; reusing old or damaged screws; fitting a blade upside down; sharpening thin razor-style blades; and handling blades with bare hands.
Blade replacement is routine maintenance, not a repair. Contact a dealer or manufacturer support if you find a cracked or warped disc, a damaged screw thread, a blade that will not pivot after cleaning, persistent vibration after fitting new blades, or an error that does not clear. Also seek help if the mower will not switch off, the disc will not turn, or you find damaged wiring, a swollen battery, or a burning smell. Do not open the mower housing, bypass a safety switch, or attempt an electrical or battery repair yourself.
Conclusion
How often to replace robot mower blades is best answered by inspection, not by a single date. Check your robotic mower cutting blades regularly in the growing season, and replace them when dull or damaged. Use your manual’s interval as a guide. Choose blades listed for your exact model, replace screws where instructed, handle old blades as sharp waste, and test the mower after fitting new parts.
Frequently Asked Questions
How often should I replace robot mower blades?
There is no universal interval. Inspect weekly during fast growth and every two to four weeks in normal use, replacing blades when dull, nicked, bent, or missing. Use your manual’s interval as a guide, and replace sooner on sandy, stony, or rough lawns.
How do I know if my robot mower blades are dull?
Look at grass tips a day after mowing. Dull blades tear rather than slice, leaving frayed or whitish tips and a ragged finish. Inspection may also show a rounded or nicked edge.
Can I sharpen robot mower blades instead of replacing them?
In most cases, no. Thin razor-style blades are consumables and should be replaced, not sharpened. Only sharpen a larger fixed blade if your manual explicitly describes how to do so safely for your model.
Should I replace all robot mower blades at the same time?
Many manuals say to replace the full set on the disc at once, so cutting stays balanced and even. Follow your manual. If it says to replace all blades together, do not replace only the most damaged one.
Are third-party replacement blades safe to use?
They can be, but only if clearly listed as compatible with your exact model and matching the original type, size, and mounting. Avoid unlabelled parts. When in doubt, use the manufacturer’s part or an authorised dealer.
How should I dispose of old robot mower blades?
Put them straight into a rigid, sealed container, label it as sharp blades, and keep it out of reach of children. Do not put loose blades in a bin bag or household waste. Check local council guidance, or take the container to a household recycling centre.