
To prepare lawn for robot mower installation, walk the whole mowing area, remove loose objects and debris, fill holes and level sharp dips, tidy the edges, move cables and hoses out of the way, and decide which fixed features need a physical barrier or a mapped exclusion zone. Do this before you lay boundary wire or map the lawn. Most early problems — a mower getting stuck, stopping mid-mow, or damaging something — come from a lawn that was never properly checked. In most gardens, robot mower lawn preparation takes one thorough walk-through and an afternoon of tidying.
Start With a Lawn Inspection Before Installation
A lawn inspection before installation is the most useful hour you will spend on the whole project. Walk the mowing area slowly and look at the ground, not the view. Bring a bucket and a notepad. Walk the perimeter, then cross in a grid, including under trees and behind sheds. Inspect after rain if you can, when soft ground shows clearly.
Sort what you find into three groups: things to remove, things to repair (such as a hole or a loose paving slab), and things that cannot move (such as a pond, a large tree root, or a flower bed). The last group needs a decision: leave it if the mower can pass safely, or protect it with a barrier or an exclusion zone. A few photos help later when you are laying wire or mapping.
Clear Debris, Toys, Tools, and Clutter
Robot mower obstacles come in two kinds: things the mower can push past harmlessly, and things that can jam a wheel, wrap around a blade, or damage the machine. Fallen branches, sticks, pine cones, stones, and broken plant pots fall into the second group, so pick them all up, even the small ones. Rake up thick wet leaves and clear clippings so you can see the ground. Also check for tent pegs, nails, and broken glass or plastic, especially near fences and sheds and after building work or tree surgery. Thin wire can wrap around moving parts.
Children’s toys are a common cause of a mower stopping mid-mow. Toys can jam a wheel or wrap around the cutting disc, so collect everything and check the lawn before each run. Put garden tools away too, and move hoses, extension leads, shoes, dog toys, and sports equipment off the grass. A hose across the lawn can tangle the mower. Coil hoses on a reel.
Fill Holes, Level Dips, and Deal With Roots
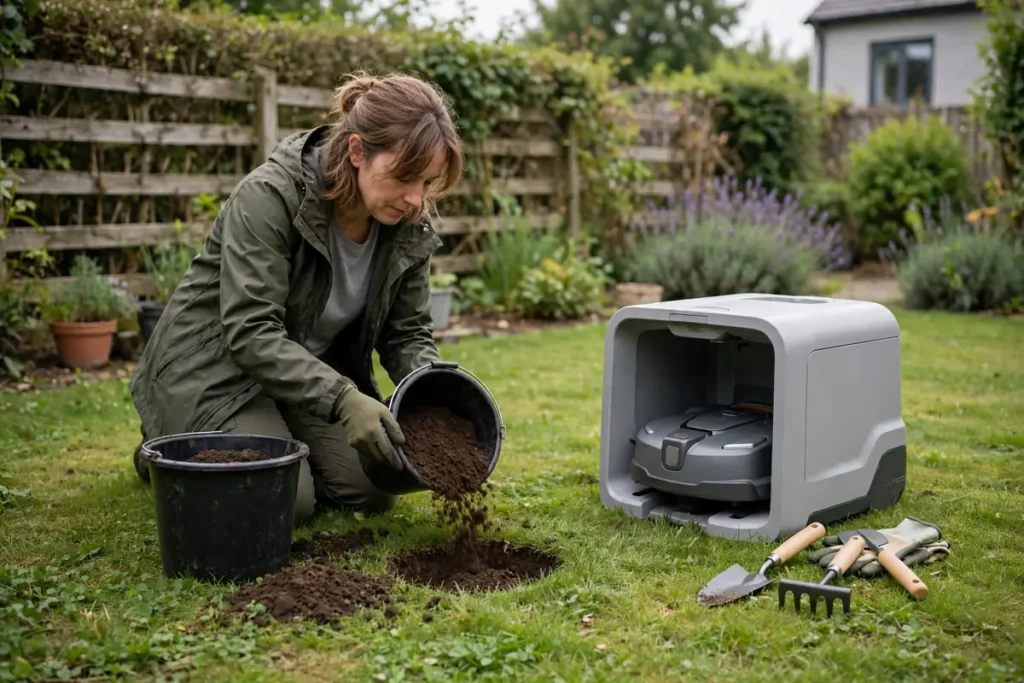
Holes and sharp dips are the main reason robot mowers get stuck. A wheel drops in, the mower loses traction, and it either stops with an error or spins its wheels and wears a bare patch. Look for holes left by pets, removed plants, fence posts, or moles, and for dips where soil has settled along a path or around a drain cover. Fill small holes with topsoil and firm it down. Fill deeper holes in layers, topping with seed or turf. Do this a few days before installation so the soil firms up.
Gentle undulations are fine; a sharp dip, ridge, or step is not. Rake topsoil into a low spot and firm it, or shave down a small ridge with a spade. Do not cut a living root; cover a low one with topsoil and turf, or exclude a large raised one. Flatten molehills and fill burrows first, and check your manual for ground-clearance guidance.
Tidy Edges, Paths, and Transitions
Edges are where installation problems often start. A lawn that meets a path, patio, driveway, or flower bed with a raised lip, a crumbling edge, or a deep gap can stop a mower or leave a strip of uncut grass. Walk the whole boundary and check every transition. Where grass meets a hard surface, level the edge: re-bed rocking slabs, fill gaps, and trim overhanging grass. Clear spilled gravel from the lawn.
Check edging strips and low retaining timbers too. Anything sticking up more than a centimetre or two above the grass can catch the mower’s underside, and a sharp metal edge can damage it. Push loose edging back into place, hammer down raised pins, and replace broken sections. Make sure bed edging is continuous — a small gap lets the mower through. Also clear the planned charging-station area.
Sort Out Cables, Hoses, and Irrigation
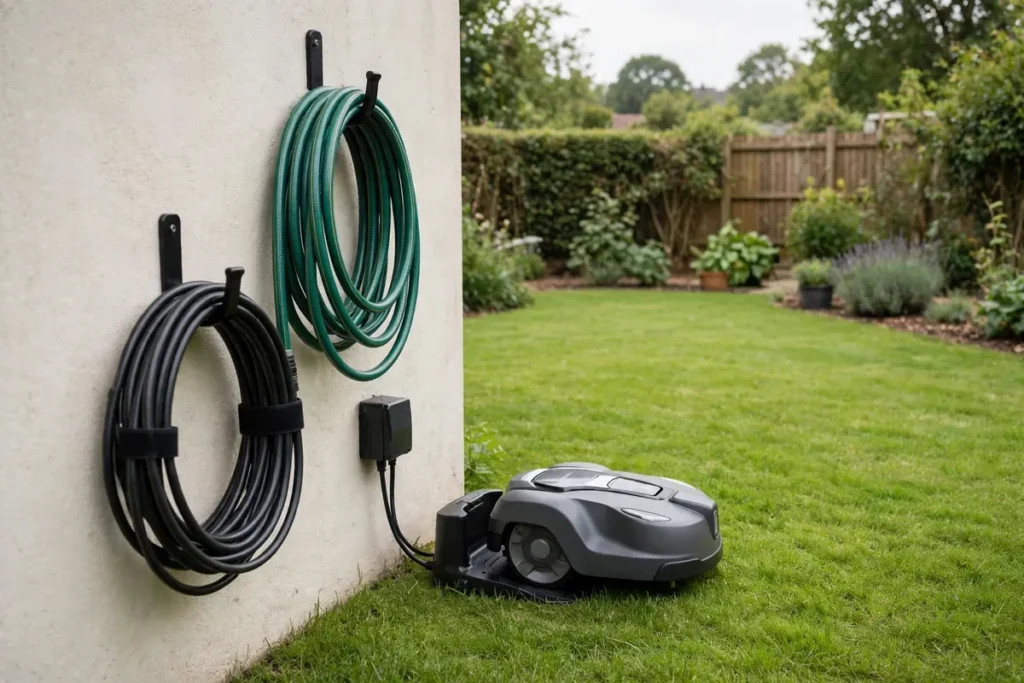
Anything long, thin, and lying on the grass is a risk. Lift every cable and hose you find. Bury lighting cable or run it along a fence, and move drip lines into beds. Never run a cable across the mowing area.
Check sprinkler heads as well. A flush pop-up head is usually fine; a raised, broken, or tilted head can be struck. Push fixed heads down to lawn level, replace broken ones, and note their positions. Remove hose-end sprinklers after watering.
Protect Beds, Ponds, Furniture, and Play Equipment
When you prepare garden for robotic mower use, some parts of the garden should never be mowed, and preparation is the time to decide how to protect them. For a wire mower, run an island of wire around the feature; for a wire-free mower, draw a no-go zone. Decide now, while you are looking at the feature. Trim plants that droop onto the lawn.
Give ponds a generous margin and a physical barrier, following your manual’s guidance. Steep drops need a barrier, not just a line on a map. Guard young trees and trim low branches.
Move lightweight garden furniture — chairs, small tables, sun loungers, plant stands — off the lawn, since they can be dragged or tipped and their legs can trap a wheel. Heavy, fixed furniture can usually stay if the mower has a clear route around it. Move play equipment to a hard surface or exclude it whole — pegs and guy ropes can catch the cutting deck. Give washing lines, bird baths, and ornaments a clear margin or an exclusion zone.
Pets, Children, and the Lawn Itself
Robot mower installation preparation should include a hard look at how pets and children use the lawn. Fill digging holes, pick up dog toys and chews, and clear pet waste — a mower running over it spreads it across the grass and fouls the cutting deck. Exclude a regular toilet area, or mow when the dog is indoors. Avoid first runs at dawn or dusk, when hedgehogs are most active, and check the lawn before a run.
Children should not be on the lawn while the mower is running, and preparation is the time to set that rule. Keep play areas separate and teach children the mower is not a toy. Never bypass a safety feature to make installation easier, and never let a child operate or lift a running mower.
A robot mower cuts a little and often, so the lawn needs to be in reasonable condition before it starts. Mow first with a conventional mower to a normal height, and clear clippings. Do not install into long grass: it will struggle and stop repeatedly. Cut very long grass in stages over a few days. Overseed bare patches and keep the mower off new seed until established. Wait for a dry spell for the first run.
Prepare Lawn for Robot Mower Use: Remove, Barrier, or Exclude
Use this guide during your inspection.
| Feature | Usual action | Why |
|---|---|---|
| Sticks, stones, toys, tools, hoses, cables | Remove from the lawn | Jam wheels and blades |
| Small holes, shallow dips, molehills | Fill and level | Traps wheels |
| Large raised roots, steep drops, ponds | Barrier or exclusion zone | Cannot be removed safely |
| Flower beds, vegetable patches, new planting | Barrier or exclusion zone | Protects plants |
| Young trees, fragile ornaments | Guard or exclusion zone | Repeated contact causes damage |
| Garden furniture, play equipment | Move off the lawn, or exclude the footprint | Legs and anchors trap wheels |
| Sprinkler heads, drain covers | Level, secure, or exclude | Raised covers catch the mower |
| Bare patches, newly seeded grass | Exclude until established | Soft soil wears quickly |
A physical barrier — a low fence, edging, or a ring of stones — is the most reliable option for something the mower must never touch, such as a pond or a steep drop. Mapped zones work for beds if you check them on the first run. When you are unsure, exclude it: you can always widen the mowing area later, once you have seen the mower run safely.
Final Pre-Installation Checklist
Run through this checklist the day before installation, and again on the day itself.
- Pick up every loose object: toys, tools, sticks, stones, hoses.
- Fill holes and level dips; check repairs have firmed up.
- Trim edges and overhanging branches; clear the charging-station area.
- Move cables and irrigation lines off the lawn or bury them.
- Mark barriers and exclusion zones for beds, ponds, trees, and play areas on your sketch.
- Mow to a normal height and clear clippings.
- Fix loose sprinkler heads, drain covers, and edging.
- Check gates and access routes are open and clear.
- Read the manual’s safety section on slopes, wet grass, children, and pets.
- Agree who checks the lawn before each run.
Fix anything you cannot repair quickly by excluding it until it is repaired.
Conclusion
Preparation is mostly looking carefully and tidying thoroughly. Note each decision before laying wire or drawing a map. Done well, it prevents weeks of stops, stuck wheels, and damaged plants.
Frequently Asked Questions
How long does it take to prepare a lawn for a robot mower?
For a typical lawn, allow an afternoon — two to four hours. A large or uneven garden can take a full day. Fill holes a few days early so the soil firms up.
Should I mow the lawn before installing a robot mower?
Yes. Cut the grass to a normal height with a conventional mower before installation, and clear the clippings. A robot mower is designed to maintain a lawn with frequent light cuts, not to tackle long, overgrown grass. Cut very long grass in stages.
What should I remove from the lawn before a robot mower runs?
Remove anything loose: sticks, stones, toys, tools, hoses, and cables. Level anything that could trap a wheel, like pegs and raised sprinkler heads. Protect fixed features with a barrier or exclusion zone.
Do I need to fill holes in my lawn before installing a robot mower?
Yes. Fill holes and level sharp dips before installation, because even a small hole can trap a wheel and stop the mower, and repeated spinning in the same spot wears a bare patch. Fill in layers and let the repair settle. Do not cut large roots; cover or exclude them.
How do I protect flower beds and ponds from a robot mower?
Use a physical barrier, a boundary-wire island, or a mapped exclusion zone, depending on your model. Leave a margin, trim overhanging plants, and check the boundary on the first run. Ponds need a generous margin and a real barrier, not sensors alone.